Showing posts with label Kevin. Show all posts

Wednesday, October 6, 2010

ROTATION 1: Large Format - Finishing Up

This week, we finished up our first rotation (mine being the large format view camera).

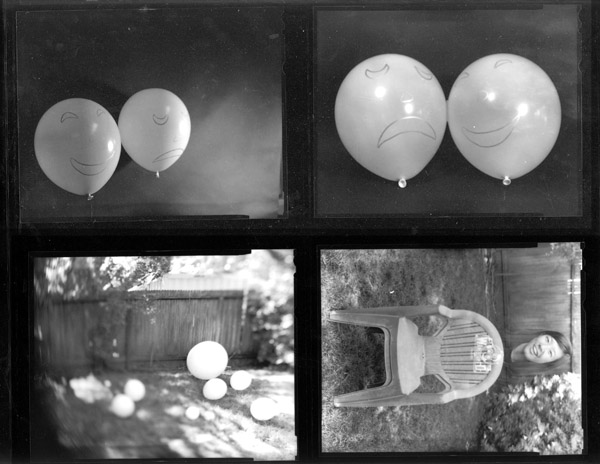
In this rotation, I primarily worked with balloons, but also experimented with what I call partial exposures and adjusting the plane of focus of the camera.

Overall, working with the view camera is very rewarding, because it is a very mechanical and visceral process. The camera is not as automated as the SLRs we worked with in Beginning Photography, which slows the photo-taking process down - which is beneficial in that it makes the photographer pause to further contemplate their photo, but makes the photography process somewhat more difficult as well, in that the photographer gets fewer chances in a given period of time to get a successful photo.

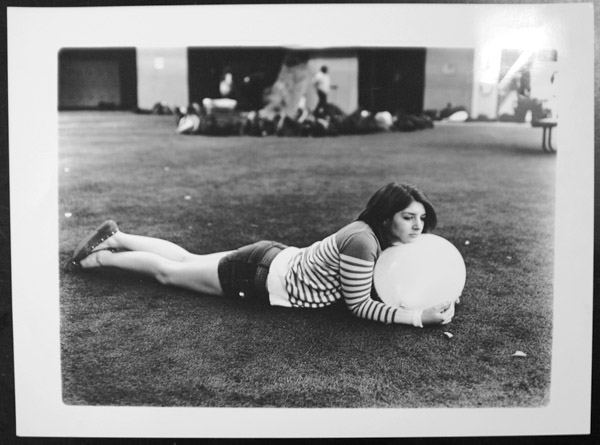
Below are a few samples of the various work I did. (I have not included the partial exposures because I posted them in Polaroid format a few blog posts back)


-Kevin

Monday, September 27, 2010

PROJECT 1: Large Format - Partial Exposures

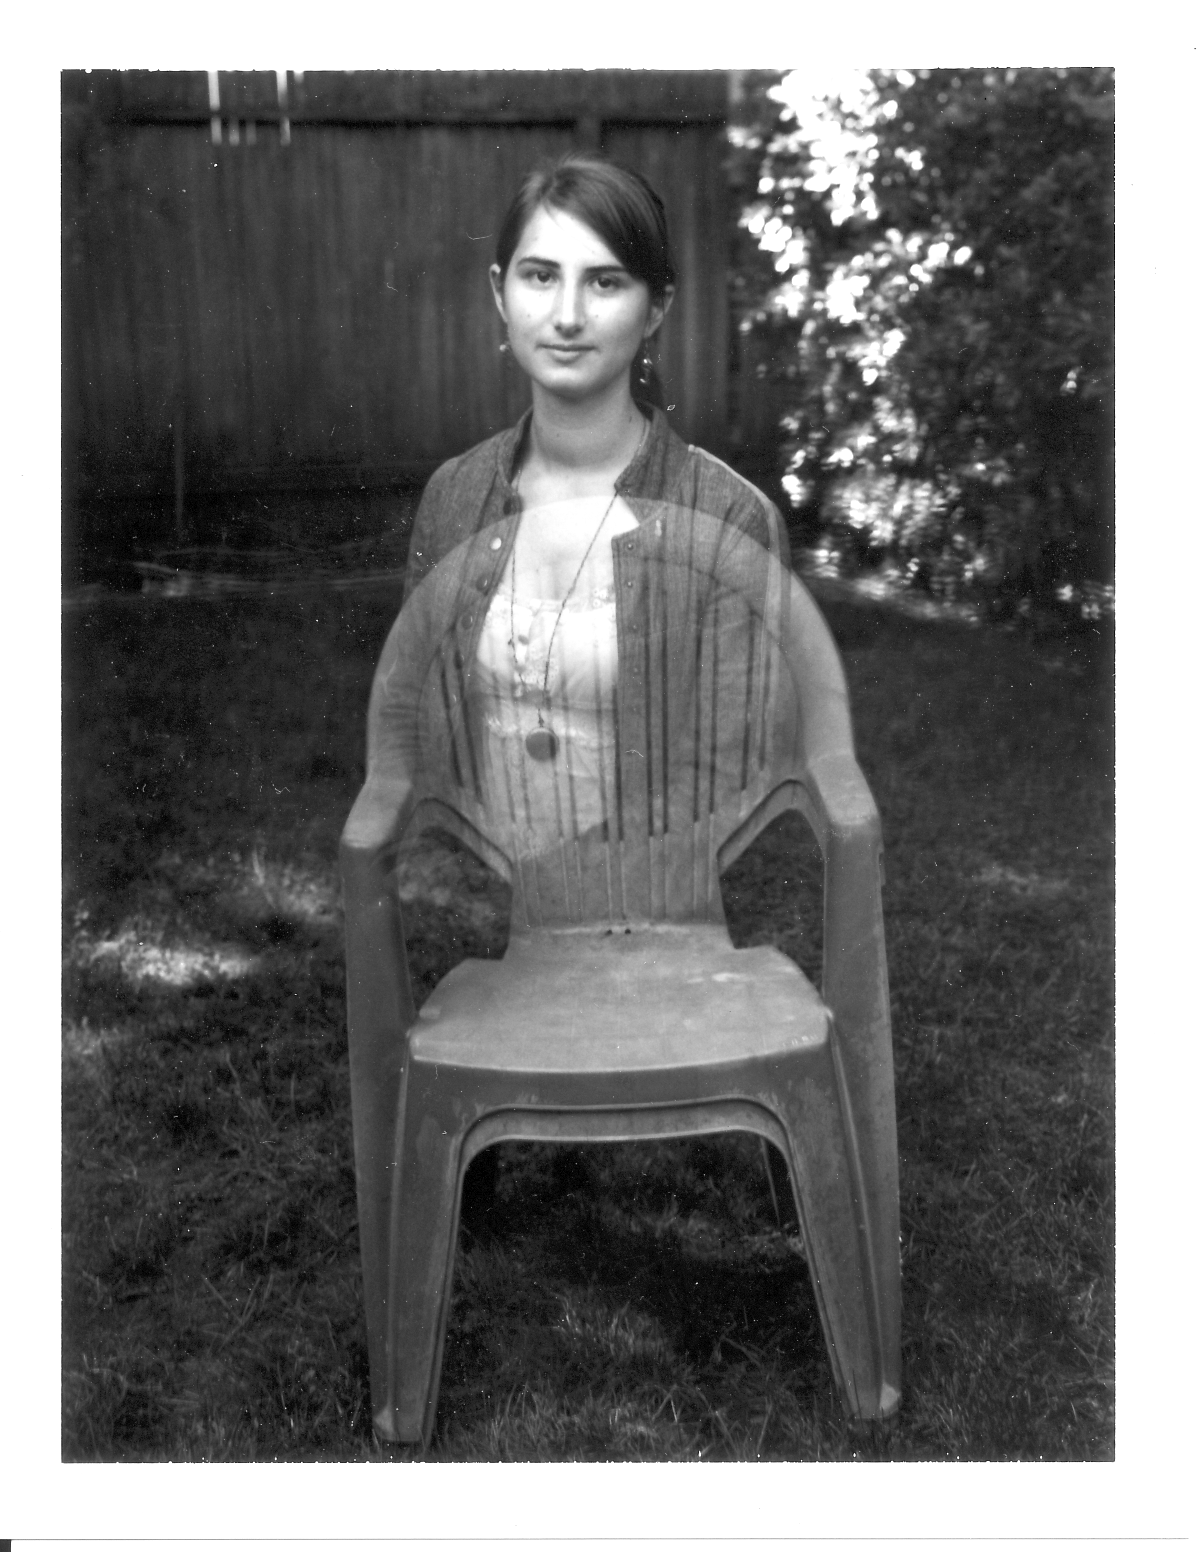
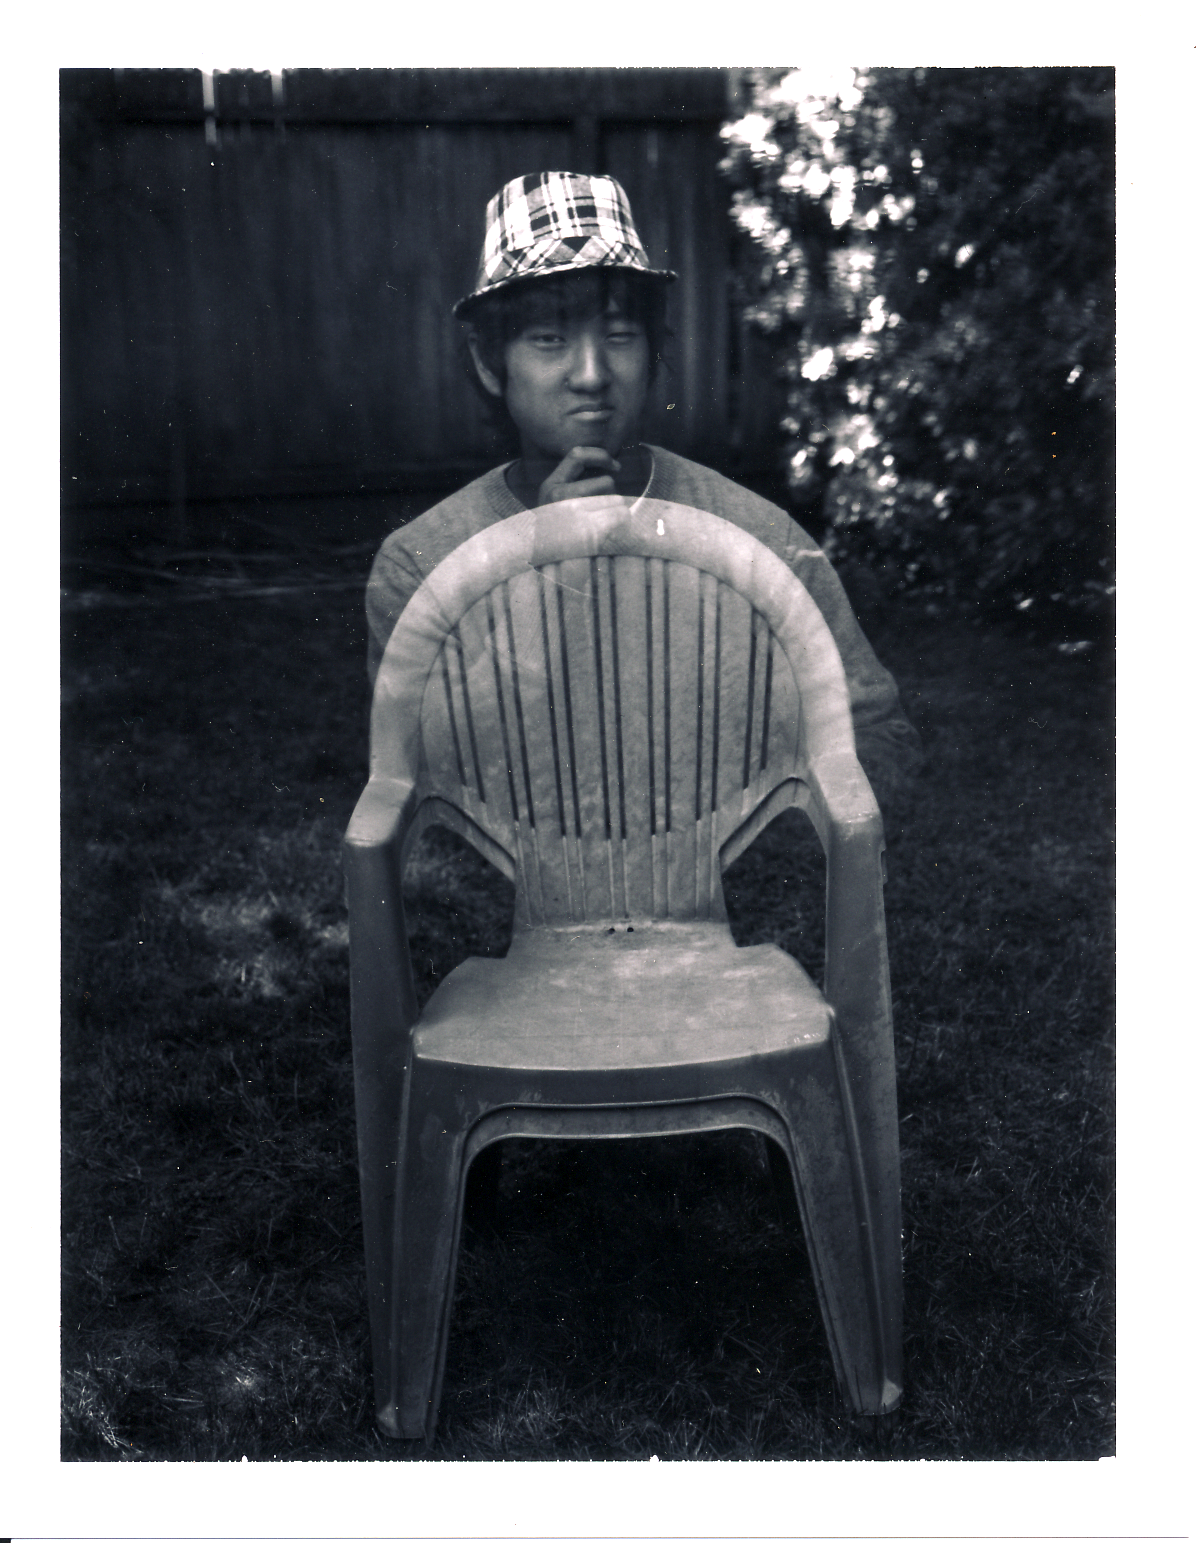
Last week, I continued to work with the large format view camera, turning my attention to portraiture and partial exposures of film with the assistance and advice of Mr. Zivkov.

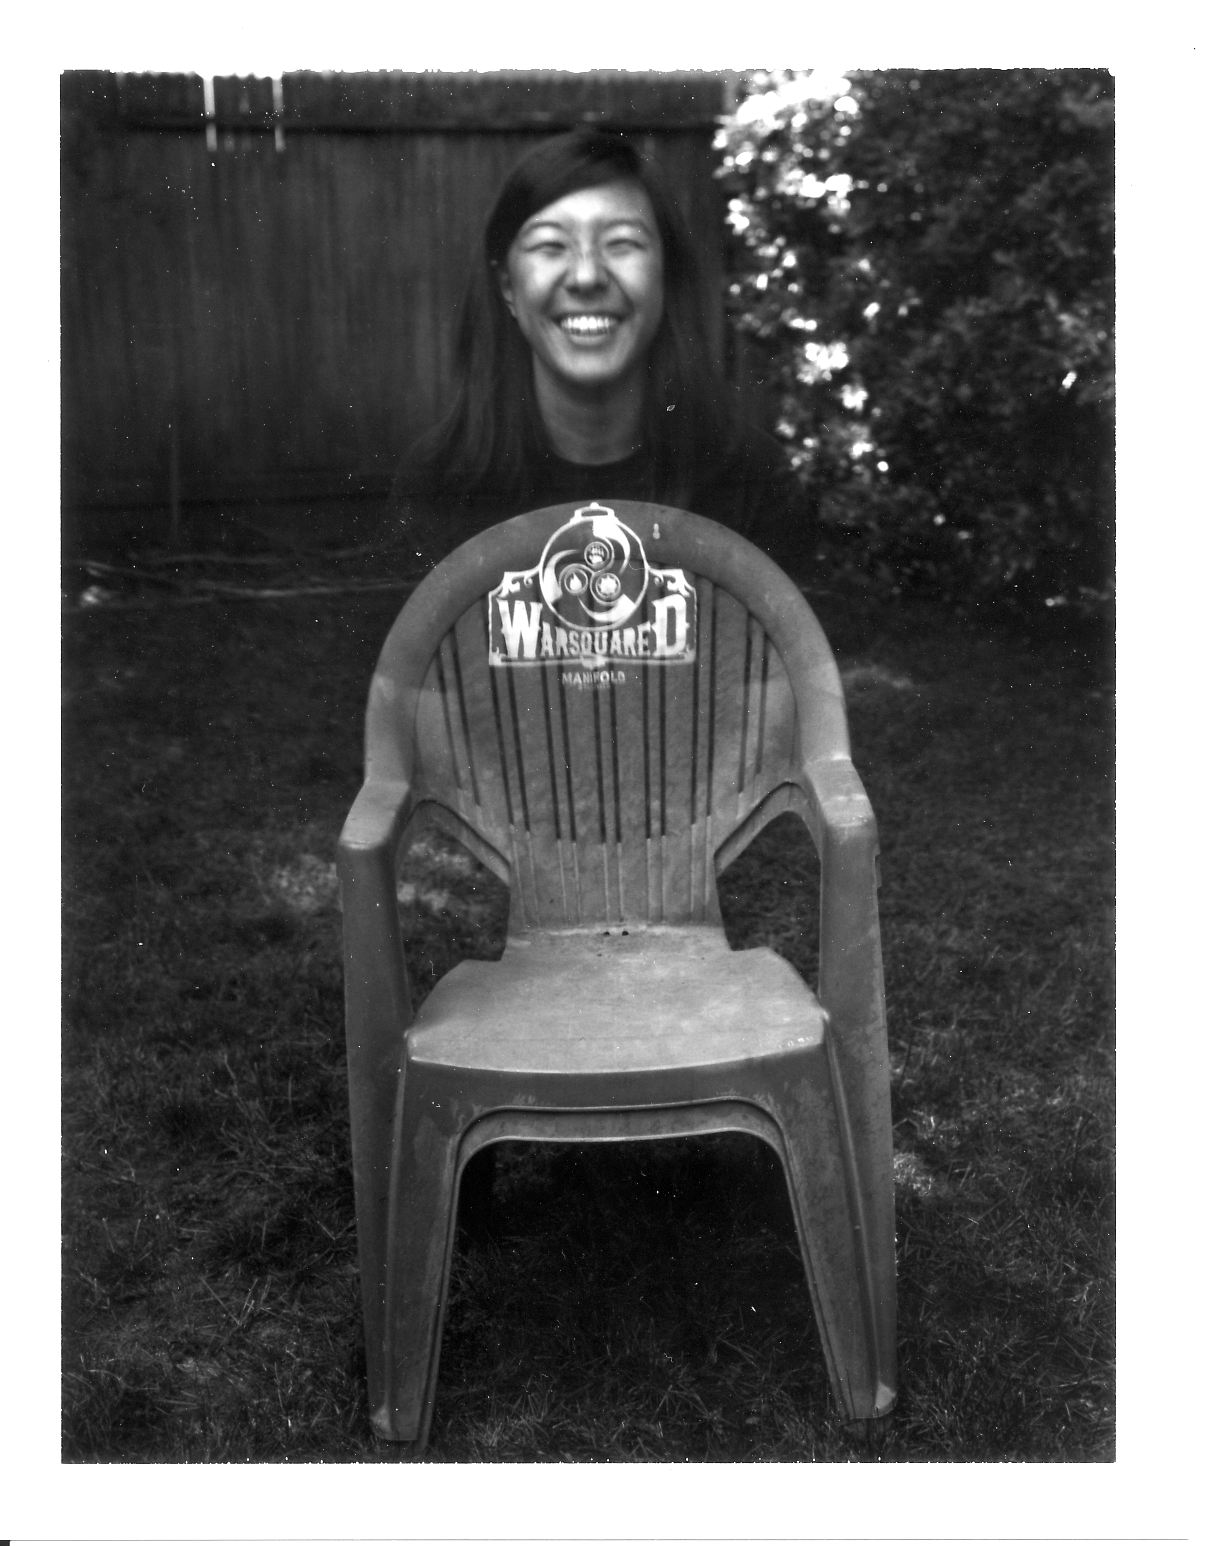
The technique we used to create the partial exposures was to take a photo of the subject while covering the bottom half of the lens with a piece of black mat card, then to remove the subject (in this case, people) and to take a photo of the same scene while covering the top half of the lens, thereby making two mini photos on a single sheet of film.

Below are the results.


Saturday, September 18, 2010

PROJECT 1: Large Format

We've now moved onto our second phase of projects from the initial reorientation projects. For about a month or so, I have been given the opportunity to wrestle with and conquer the view camera (or in layman's terms: The box camera with the black cloth drapey thing.)

This week, I concentrated on trying to get my bearings with this camera and to familiarize myself with how it works. A view camera is essentially the same as a regular camera, but unautomated and with its inner workings exposed instead of encased in a shiny metal shell.

So far, I have taken 2 self-developing Polaroid photos (which work essentially as test strips) and 3 photos on film. I tried to include our white balloon theme in the film photos, as well as try to experiment with people photography.

Below are the Polaroid photos (I have not yet developed the film, and so unfortunately cannot share the film photos.)

Enjoy!

Wednesday, September 15, 2010

DARKROOM PROJECT

In the first week, I worked on a number of things, namely a comparison of fiber paper versus resin-coated paper and a large photogram.

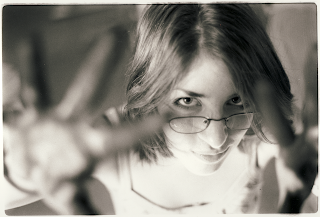
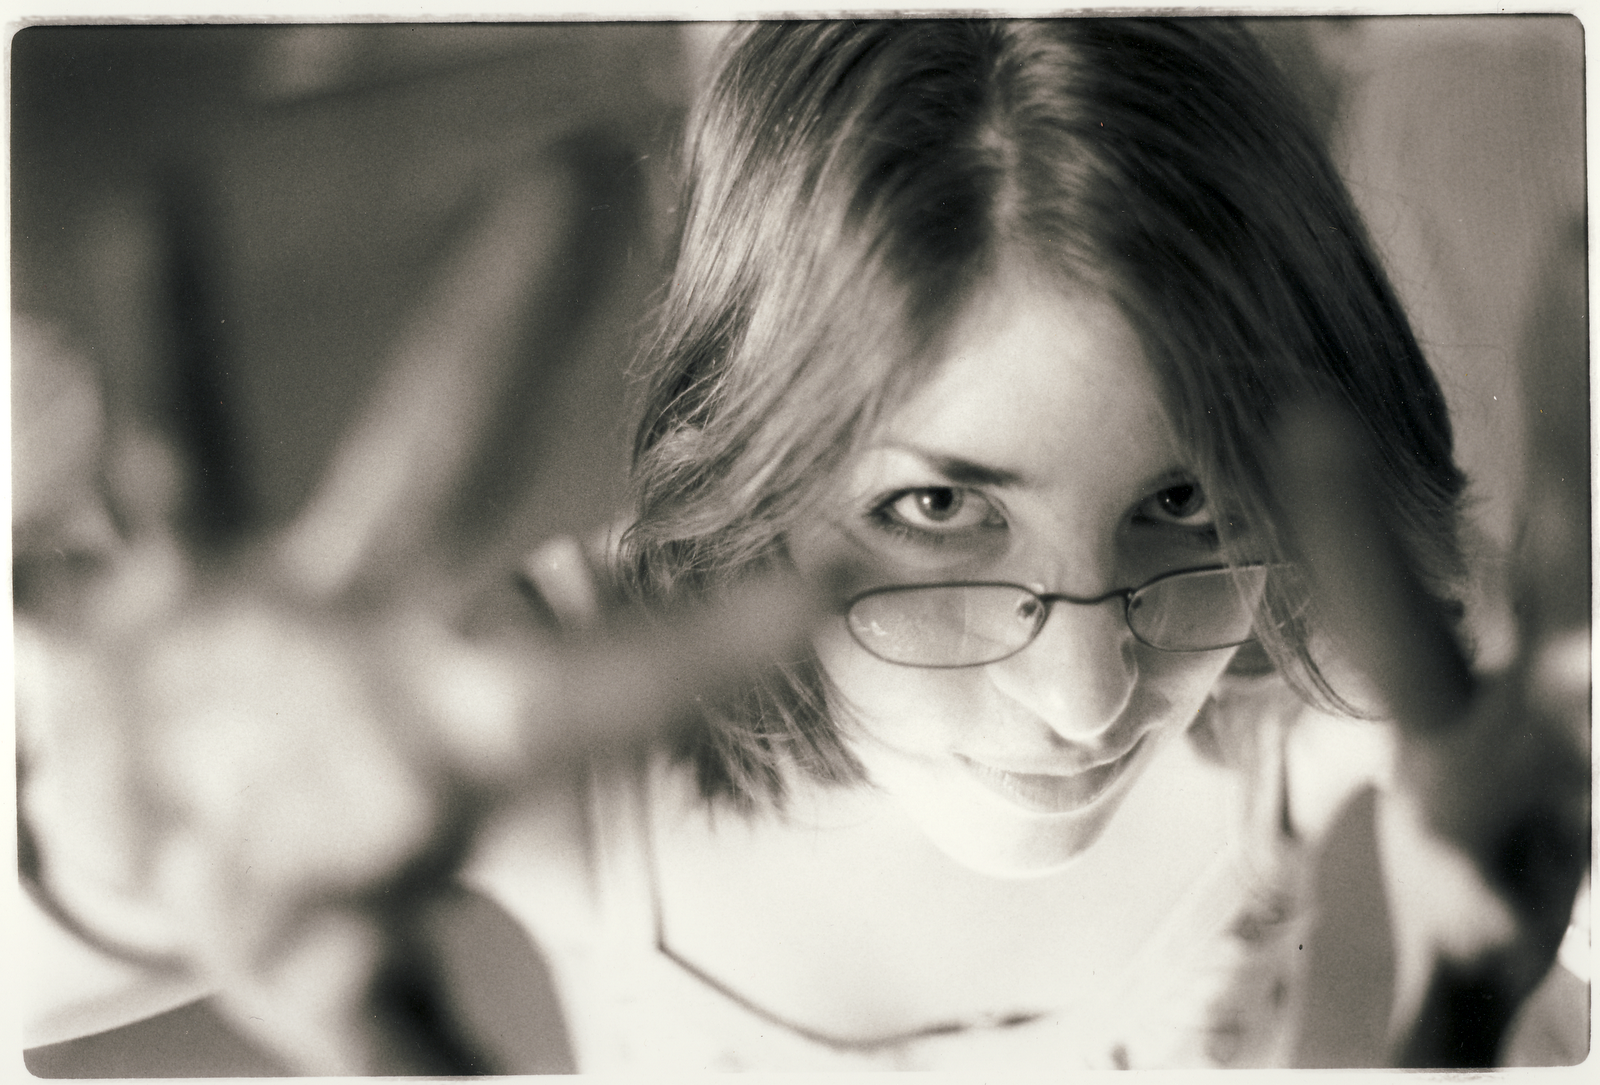
Below are the results of my comparison between fiber and resin-coated papers (model is the amazing Meredie Johnson).

Fiber
:

Resin-Coated

The main difference between fiber and resin-coated paper is that fiber paper gives everything a "warmer" looking color tone, in which the entire photo takes on a very subtle greyish-yellow looking tint. Resin paper in comparison has a stark cold, almost sterile-looking feel to it, where the whites and greys all have blue components.

Fiber paper also gives off much deeper dark colors, whereas dark colors on resin-coated paper appears to be more of a very very very dark grey (it has bluish hints, versus fiber paper's deep black.)

I would imagine that one would have to decide what effects are desired before choosing a paper type. Cold? Warm? Greyish? Black?

Next off is the photogram.


I collaborated with LeeAnne to produce a large human photogram that was 4 sheets of 20*24" resin-coated photo paper taped together. Our process involved taping the four papers together out in the safety light, then going into the film-loading darkroom and having LeeAnne lay on the floor so we could make the photogram by turning the lights on for 1 second.

To make the sparkling effect on the top corner, we used a spray bottle to apply spots of fixer before developing the photogram, which prevented the spots touched by the fixer from being developed.

Then, we separately developed each 20*24" sheet, as the large photogram would not have fit in the developing chemical trays.

All in all, I would say the first week was a pretty successful way to start off the new year with a theme of experimentation and thinking out of the box.